It is interesting to be working on Christmas projects in June; in a way it feels a little bit early. But that is the way to go to avoid the holiday rush. Fiona from Celtic Thistle Stitches came up with this amazing idea Ho, Ho, Ho and on We Sew which is a monthly link up to encourage other bloggers to get a head start with our Christmas makes. Every month there is a link up and a giveaway! You can find this month's link up here.
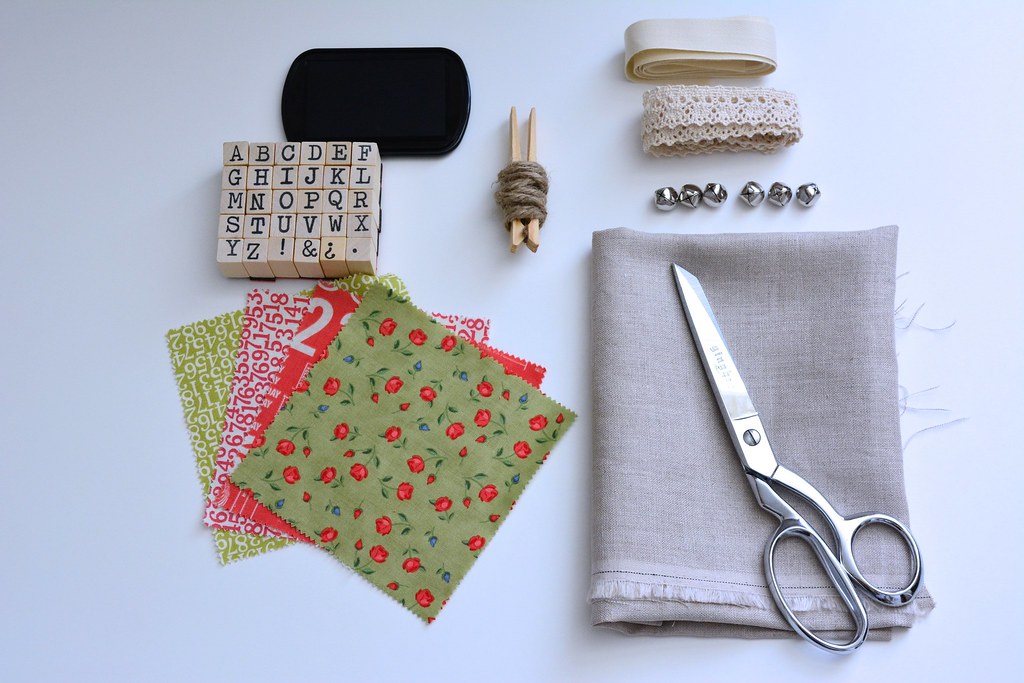
Here is what you need:
-Fabric for the bag
-Fabric scraps at least 5X5 inches
-Fusible interfacing
-Twill tape
-Stamps and ink pad
-Various trims and decorations
-Ribbon
Let's get started:
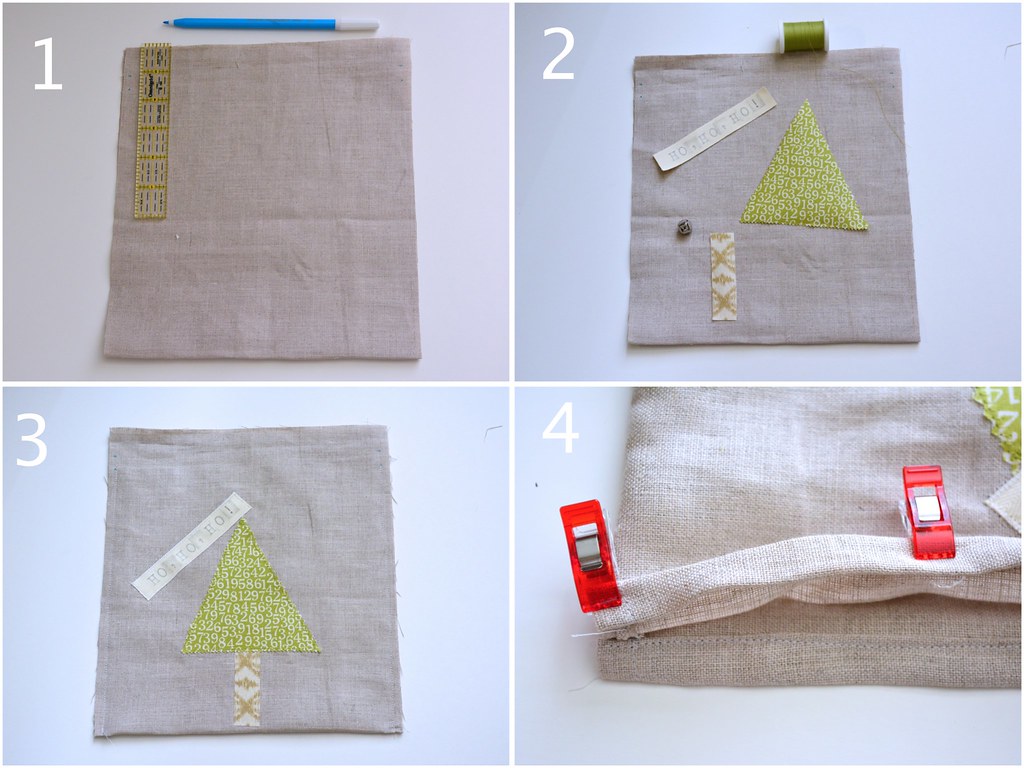
1. Cut a fabric rectangle for the body of the bag: It can be any size you want; the width that you want your bag to be plus 1 inch for seam allowances (for a French seam) by the height you want your bag to be times 2 plus 3 inches for the channel for the string. i.e. I cut my rectangle 9 1//2 X 22 inches for a finished bag approximately 8 1/2 X 9 1/2 inches. Fold your fabric in half wrong sides together. On each side from the top down make a mark at 1 inch and another mark at 1 /12 inches.
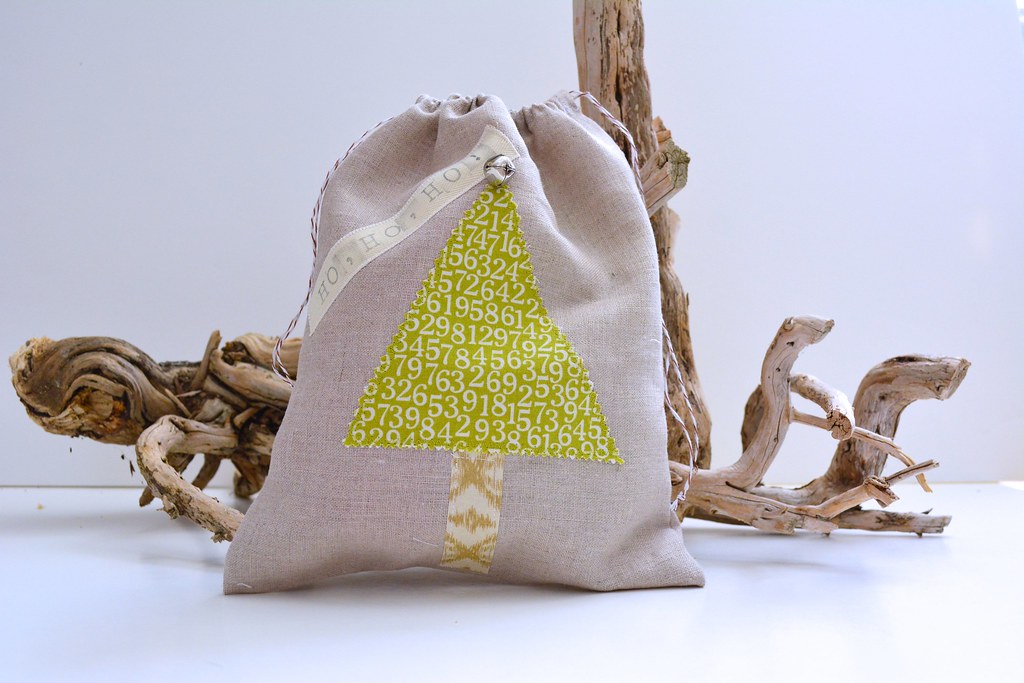
2. Now this is the super fun part and where you can unleash your imagination. Let's decorate the front of our bag! I made a little christmas tree and added a twill label with the words Ho, Ho, Ho! (I thought it would be appropriate for the theme of the link up). Attach the Christmas tree to the bag using fusible interfacing according to the manufacture's instructions. Topstitch to secure the decoration with a zigzag stitch to make it more attractive.
Stamp a fun message on the twill tape with your stamps. Iron on high to set the ink. Then attach to your bag with a small zigzag stitch.
3. Now that we have decorated our bag it is time to close it. Using a scant 1/4 inch seam allowance stitch on the right side of the bag on each side stopping at the 1 1/2 inch mark that you made earlier. Trim any loose threads. Turn your bag inside out. Flatten the seams of the bag and stitch again using a 1/4 inch seam ( this will enclose the raw edges that we had on the outside of the bag. Stop at the 1 1/2 mark at the top of the bag.
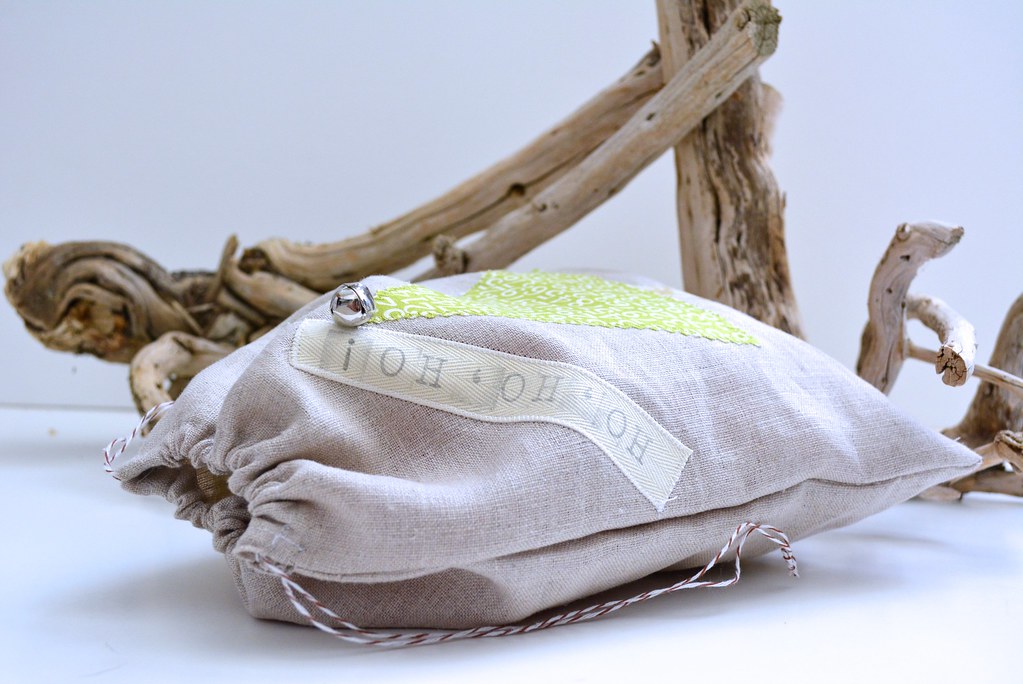
4. We are almost done. Turn you bag right side out. On each side of the bag fold the seam allowance that was not stitched on each side and stitch to secure. Now to form the channel for the string fold from the top down to the 1 inch mark that you made earlier and again to the 1 1/2 inch mark. Stitch to secure. Using a safety pin run a ribbon through the channel. *I had planned to use natural twine but it was too rough and didn't run well through the channel. So I used baker's twine instead and worked so much better* And finish it off with a jingle bell on top of the tree.
If you have any questions, leave me a message or send me an e-mail.
Happy Sewing!
XX
Martha.
Every month everyone participating in the link up shows beautiful makes, so I thought I will share with you a tutorial for a gift bag to wrap your beautiful handmade gifts that can be re-used. It is basically a string bag that you can personalize and embellish to match the recipient's personality.
Here is what you need:
-Fabric for the bag
-Fabric scraps at least 5X5 inches
-Fusible interfacing
-Twill tape
-Stamps and ink pad
-Various trims and decorations
-Ribbon
Let's get started:
1. Cut a fabric rectangle for the body of the bag: It can be any size you want; the width that you want your bag to be plus 1 inch for seam allowances (for a French seam) by the height you want your bag to be times 2 plus 3 inches for the channel for the string. i.e. I cut my rectangle 9 1//2 X 22 inches for a finished bag approximately 8 1/2 X 9 1/2 inches. Fold your fabric in half wrong sides together. On each side from the top down make a mark at 1 inch and another mark at 1 /12 inches.
2. Now this is the super fun part and where you can unleash your imagination. Let's decorate the front of our bag! I made a little christmas tree and added a twill label with the words Ho, Ho, Ho! (I thought it would be appropriate for the theme of the link up). Attach the Christmas tree to the bag using fusible interfacing according to the manufacture's instructions. Topstitch to secure the decoration with a zigzag stitch to make it more attractive.
Stamp a fun message on the twill tape with your stamps. Iron on high to set the ink. Then attach to your bag with a small zigzag stitch.
3. Now that we have decorated our bag it is time to close it. Using a scant 1/4 inch seam allowance stitch on the right side of the bag on each side stopping at the 1 1/2 inch mark that you made earlier. Trim any loose threads. Turn your bag inside out. Flatten the seams of the bag and stitch again using a 1/4 inch seam ( this will enclose the raw edges that we had on the outside of the bag. Stop at the 1 1/2 mark at the top of the bag.
4. We are almost done. Turn you bag right side out. On each side of the bag fold the seam allowance that was not stitched on each side and stitch to secure. Now to form the channel for the string fold from the top down to the 1 inch mark that you made earlier and again to the 1 1/2 inch mark. Stitch to secure. Using a safety pin run a ribbon through the channel. *I had planned to use natural twine but it was too rough and didn't run well through the channel. So I used baker's twine instead and worked so much better* And finish it off with a jingle bell on top of the tree.
If you have any questions, leave me a message or send me an e-mail.
Happy Sewing!
XX
Martha.


Great idea. Thanks for the tutorial.
ReplyDeleteThe bakers twine is perfect for this Martha. This is one gift bag that won't be tossed away afterwards, that is for sure :)
ReplyDeleteI just picked up 4 yards of unbleached muslin on sale - I think I'll make some Christmas bags! I like the way you've embellished yours - I think I may even have stamps small enough to work for this project :D
ReplyDelete